I started sorting out the finished and unfinished projects left behind in our room. There's a pile of finished baby hats to go to the hospital, a pile of hats that need a little attention (ends woven in, bad seaming, etc...), and some miscellaneous knitted items that will find a good home soon.
We started a little late in the year on our pet bed project for the Kentucky Humane Society. We have only 3 completely finished beds done and I counted 9 beds in various stages of completion. Fortunately, we wised up this year and all the unfinished beds are neatly folded in gallon sized storage bags with the name of the person who was working on it. I put all of those in a box and brought them home with me along with my sewing machine, which has been living at school since April. I'm going to start with the beds that are furthest along and see what I can get finished. Anything I don't get to, I will know who to talk to about it in the fall at least.
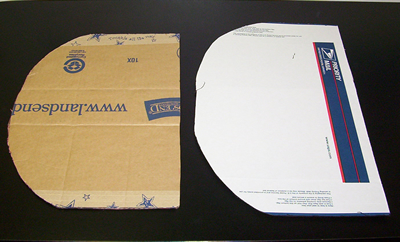
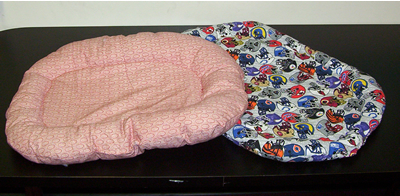
These beds are our own design and I plan to write up the pattern nicely at some point, but here it is in a nutshell. Basically, we used semi-circular cardboard for templates that we placed on a folded piece of fabric (straight edge on the fold). The template is 1/2 the size of the finished bed. You need to cut out two pieces of fabric for the outside and a third piece of something for the filler. Batting could work, but we liked towels or old blankets. They are soft and give it a little more weight. You then stack the outer fabrics right sides together and put the towel on the bottom of the stack. Sew around the outside edge leaving a two to three inch opening along EACH side (for turning and also to add stuffing later. After turning the bed inside out, sew a line around the center about 4 inches from the edge. Now, stuff the outside ring and sew the holes shut. Pretty simple! My parent helper came up with this and it has worked great and is easy for the kids to do.
 RSS Feed